
How to Change a Smart Lock Battery
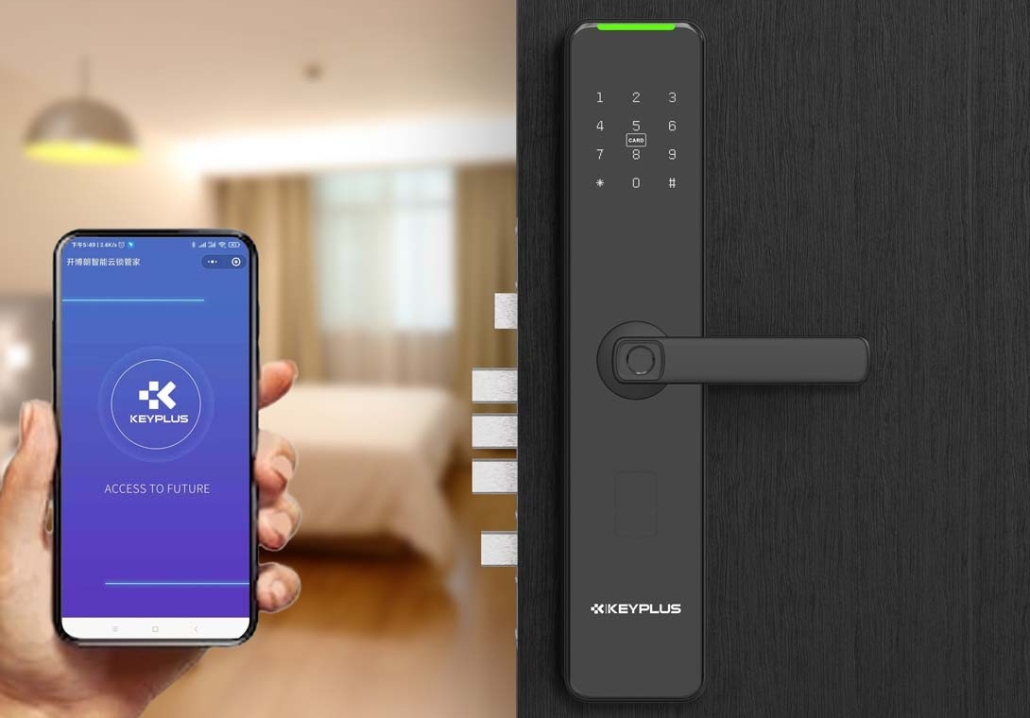
Smart locks provide convenience, security, and keyless entry to your home. However, like all electronic devices, they rely on batteries—and eventually, those batteries will need replacing. If your smart lock is beeping, showing a low-battery warning, or becoming unresponsive, it’s time for a battery change.
This guide will walk you through the process of replacing your smart lock’s batteries safely and efficiently. Whether you have a Keyplus, Kwikset, or Nest smart lock, the steps are generally similar.
Why Changing Your Smart Lock Battery Matters
Before diving into the steps, let’s quickly cover why timely battery replacement is important:
-
Prevents Lockouts – A dead battery could leave you locked out of your home.
-
Maintains Security – A weak battery may cause malfunctions, making the lock less secure.
-
Extends Device Lifespan – Fresh batteries ensure optimal performance.
Most smart locks use AA or AAA batteries, though some models may use CR123A lithium batteries. Always check your user manual for the correct type.
Step 1: Check Your Smart Lock’s Battery Status
Many smart locks give warnings before the battery dies:
-
Beeping sounds
-
Blinking LED lights (often red or yellow)
-
App notifications (if connected to Wi-Fi or Bluetooth)
If you see any of these signs, replace the batteries soon to avoid issues.
Step 2: Gather the Right Tools & Batteries
You’ll need:
Fresh batteries (check your lock’s manual for the correct type)
A small screwdriver (if your lock has a screw-secured battery compartment)
A clean cloth (optional, for handling the lock)
Pro Tip: Use high-quality alkaline or lithium batteries for longer life. Avoid cheap batteries, as they may leak and damage the lock.
Step 3: Locate the Battery Compartment
Smart locks store batteries in different places:
-
Inside the lock (keypad side)
-
On the interior backplate
-
Behind a removable cover – Some locks hide the compartment under a sliding or screw-secured panel.
If unsure, check the user manual or the manufacturer’s website.
Step 4: Open the Battery Compartment
Once you locate the compartment:
-
For slide-off covers: Gently push or slide the panel open.
-
For screw-secured covers: Use a small Phillips-head screwdriver to remove the screws.
-
For magnetic covers: Pull gently to detach.
Note: Some locks require you to remove the entire backplate to access the batteries.
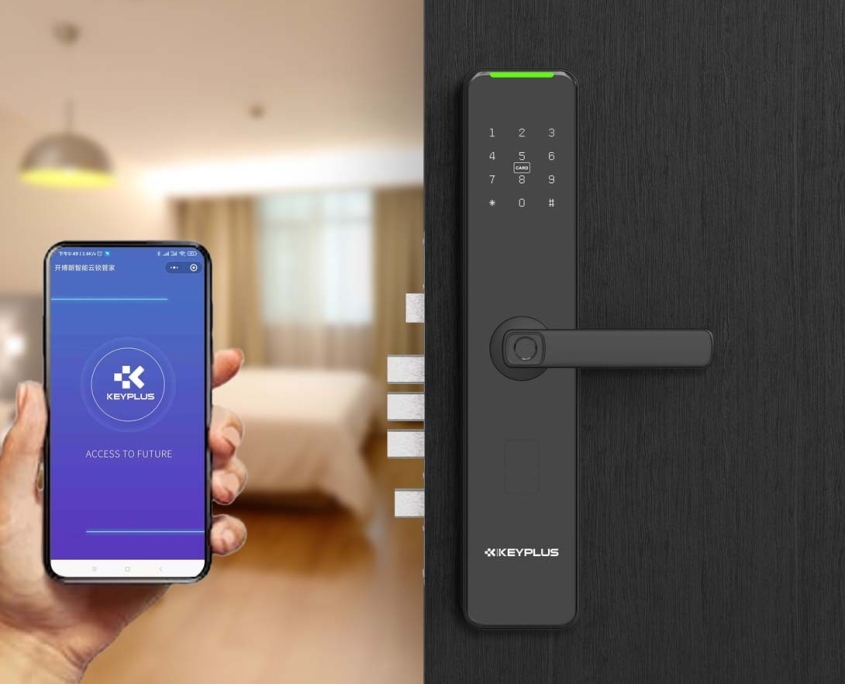
Step 5: Remove the Old Batteries
-
Take out the old batteries carefully.
-
If they’re corroded (white or green powder), clean the compartment with a dry cloth or a cotton swab dipped in vinegar.
-
Never mix old and new batteries—replace them all at once.
Step 6: Insert the New Batteries
-
Check the + and – symbols inside the compartment.
-
Insert the new batteries in the correct orientation.
-
Press firmly to ensure a good connection.
Warning: Incorrect battery placement can damage the lock!
Step 7: Close the Battery Compartment
-
Secure the cover back in place.
-
If there were screws, tighten them (but don’t over-tighten).
-
Ensure the compartment is sealed to prevent moisture damage.
Step 8: Test the Smart Lock
After replacing the batteries:
-
Check the keypad or touchscreen – Does it light up?
-
Try unlocking manually or via the app – Does it respond?
-
Look for a confirmation beep or LED flash – Some locks signal a successful battery change.
If the lock isn’t working:
-
Double-check battery orientation.
-
Try resetting the lock (consult the manual).
Bonus Tips for Smart Lock Battery Maintenance
Use Lithium Batteries – They last longer and perform better in extreme temperatures.
Keep Spare Batteries at Home – Avoid last-minute store runs when the lock dies.
Enable Low-Battery Alerts – Most smart lock apps notify you when power is low.
Check Batteries Every 6 Months – Even if no warning appears, preventive maintenance helps.
Final Thoughts
Replacing your smart lock’s battery is a quick and easy task—it takes less than 5 minutes and ensures your home stays secure. By following these steps, you’ll avoid unexpected lockouts and keep your smart lock running smoothly.
If your lock still has issues after a battery change, consult the manufacturer’s support or consider a professional locksmith.
Did this guide help you? Share it with a friend or neighbor who uses smart locks!
Related Blog
 https://www.keyplusystem.com/wp-content/uploads/2026/10/image-20261010-080119085.png
1024
1536
Wu, Wendy
/wp-content/uploads/2023/05/logo.png
Wu, Wendy2026-10-10 06:01:302026-10-10 06:01:31Driving Hotel Efficiency with Advanced Digital Door Locks: The Ultimate B2B Guide
https://www.keyplusystem.com/wp-content/uploads/2026/10/image-20261010-080119085.png
1024
1536
Wu, Wendy
/wp-content/uploads/2023/05/logo.png
Wu, Wendy2026-10-10 06:01:302026-10-10 06:01:31Driving Hotel Efficiency with Advanced Digital Door Locks: The Ultimate B2B Guide https://www.keyplusystem.com/wp-content/uploads/2026/10/image-20261010-000134148.png
1024
1536
Wu, Wendy
/wp-content/uploads/2023/05/logo.png
Wu, Wendy2026-10-09 22:01:442026-10-09 22:01:46Revolutionizing Hotel Security: RFID Key Cards and AIoT Smart Lock Solutions by KEYPLUS
https://www.keyplusystem.com/wp-content/uploads/2026/10/image-20261010-000134148.png
1024
1536
Wu, Wendy
/wp-content/uploads/2023/05/logo.png
Wu, Wendy2026-10-09 22:01:442026-10-09 22:01:46Revolutionizing Hotel Security: RFID Key Cards and AIoT Smart Lock Solutions by KEYPLUS https://www.keyplusystem.com/wp-content/uploads/2026/10/image-20261009-160126393.png
1024
1536
Wu, Wendy
/wp-content/uploads/2023/05/logo.png
Wu, Wendy2026-10-09 14:01:362026-10-09 14:01:38The Future of Hospitality: Wireless Hotel Lock Systems Powered by KEYPLUS
https://www.keyplusystem.com/wp-content/uploads/2026/10/image-20261009-160126393.png
1024
1536
Wu, Wendy
/wp-content/uploads/2023/05/logo.png
Wu, Wendy2026-10-09 14:01:362026-10-09 14:01:38The Future of Hospitality: Wireless Hotel Lock Systems Powered by KEYPLUS https://www.keyplusystem.com/wp-content/uploads/2026/10/image-20261009-080202455.png
1024
1536
Wu, Wendy
/wp-content/uploads/2023/05/logo.png
Wu, Wendy2026-10-09 06:02:152026-10-09 06:02:17Revolutionizing Hotel Security: The Future of Smart Locks for Hospitality Spaces
https://www.keyplusystem.com/wp-content/uploads/2026/10/image-20261009-080202455.png
1024
1536
Wu, Wendy
/wp-content/uploads/2023/05/logo.png
Wu, Wendy2026-10-09 06:02:152026-10-09 06:02:17Revolutionizing Hotel Security: The Future of Smart Locks for Hospitality Spaces https://www.keyplusystem.com/wp-content/uploads/2026/10/image-20261009-000116876.png
1024
1536
Wu, Wendy
/wp-content/uploads/2023/05/logo.png
Wu, Wendy2026-10-08 22:01:272026-10-08 22:01:29Revolutionizing Hotel Room Security: How Smart Locks Enhance Guest Safety and Operational Efficiency
https://www.keyplusystem.com/wp-content/uploads/2026/10/image-20261009-000116876.png
1024
1536
Wu, Wendy
/wp-content/uploads/2023/05/logo.png
Wu, Wendy2026-10-08 22:01:272026-10-08 22:01:29Revolutionizing Hotel Room Security: How Smart Locks Enhance Guest Safety and Operational Efficiency https://www.keyplusystem.com/wp-content/uploads/2026/10/image-20261008-080144553.png
1024
1536
Wu, Wendy
/wp-content/uploads/2023/05/logo.png
Wu, Wendy2026-10-08 06:01:552026-10-08 06:01:57Why Portable Locks are a Game-Changer for Modern Hotel Room Security
https://www.keyplusystem.com/wp-content/uploads/2026/10/image-20261008-080144553.png
1024
1536
Wu, Wendy
/wp-content/uploads/2023/05/logo.png
Wu, Wendy2026-10-08 06:01:552026-10-08 06:01:57Why Portable Locks are a Game-Changer for Modern Hotel Room Security
